An AI video can move and still feel poorly designed. The product may arrive too late, every shot may have the same weight, or the final reveal may have no room to land. This guide shows how to plan a 12-second product launch video around four visual beats, generate the shots in Arcloop, and compare two edit rhythms.
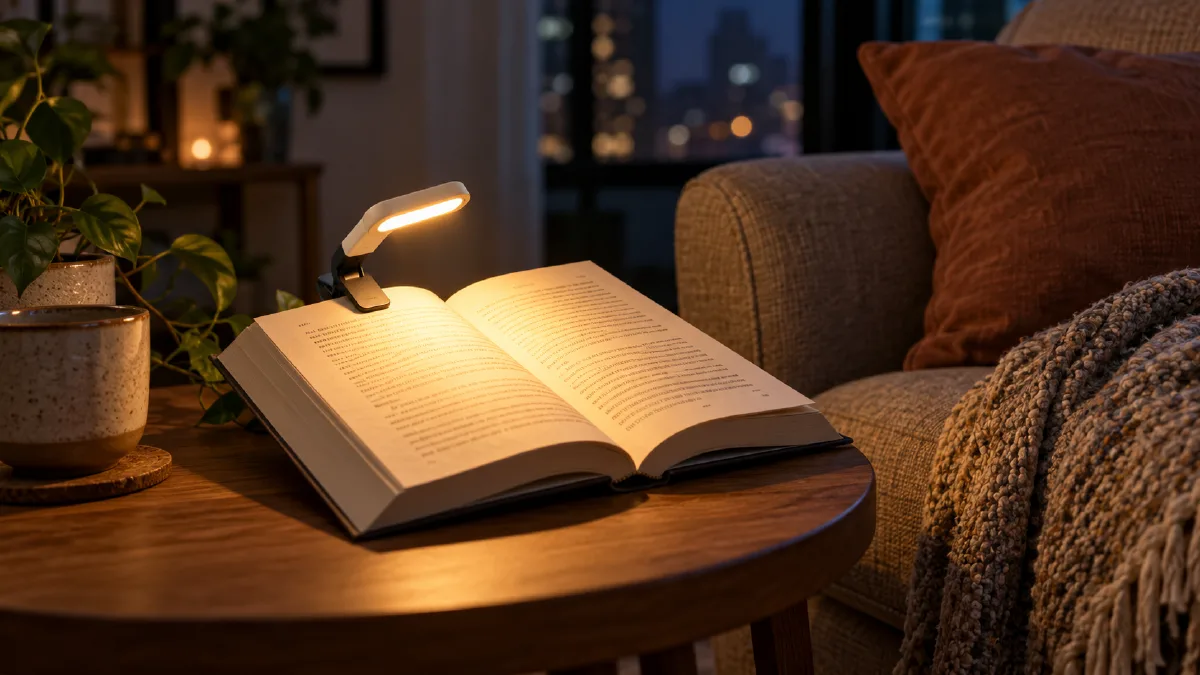
The example uses a fictional portable reading light. The workflow focuses on framing, shot order, and timing. It does not create editable code-based motion graphics or guarantee a polished result in one generation.
1. Give the video one job
Before prompting, write down the single thing viewers should understand: this small light clips onto a book and makes nighttime reading easier. Do not add extra product benefits, a founder story, and a list of specifications to a 12-second video.
| Time | Visual job | What the viewer sees |
|---|---|---|
| 0 to 2 sec | Hook | A reader tries to continue in a dim room |
| 2 to 5 sec | Product reveal | The clip-on light enters the frame and attaches to the book |
| 5 to 9 sec | Demonstration | The page becomes readable while the rest of the room stays quiet |
| 9 to 12 sec | Product finish | A clean close shot holds long enough to register the design |
This is a shot plan, not a promise that every model will follow exact frame timings. Review the generated clips and adjust them in the edit.
2. Prepare one consistent product reference
Use a clear product image that shows the light’s shape, clip, and color. Keep the same reference attached to each shot where the product appears. A reference helps the model repeat the design; it does not ensure perfect lettering or tiny mechanical details.
If you do not have a product image, create a fictional design first. Avoid real logos and unreadable product text. Keep the visual brief short: matte ivory body, small amber light panel, black spring clip.
3. Create the shots in Arcloop
Set the project to 16:9 for a product page or 9:16 for a vertical social placement. In the episode storyboard, write one clear action per shot. Generate stills first if you need to check the framing, then generate video for the shots that work. Arcloop’s first video guide describes reviewing the storyboard and regenerating individual shots when needed.
Start with this prompt and adapt it to your product:
Create a 12-second product launch video for a fictional clip-on reading light. Use the attached product reference to keep its shape and colors consistent. The video has four visual beats: 0 to 2 seconds, a reader in a dim room pauses over a book; 2 to 5 seconds, a hand clips the light onto the page; 5 to 9 seconds, the warm light reveals the printed page while the room remains dim; 9 to 12 seconds, hold on a clean close view of the light attached to the open book. Contemporary product photography, deliberate negative space, warm practical lighting, restrained camera movement, clear subject in every shot. No logos, no generated words, no extra product features.
Generate each beat as its own shot rather than asking one short clip to cover every action. Keep the product reference and visual style consistent. If the light changes shape, correct the reference or shot prompt before spending time polishing the edit.
4. Compare two edit rhythms
Use the same approved clips to make two 12-second versions. In Version A, use 2 seconds for the hook, 2 for the reveal, 5 for the reading demonstration, and 3 for the final product hold. In Version B, use 1 second for the hook, 4 for the reveal, 5 for the demonstration, and 2 for the final hold. Keep the music and voiceover the same so pacing is the main difference.
In Arcloop’s Edit timeline, arrange the clips, trim their duration, and review the sequence at normal speed. Ask whether the product is understood sooner and whether the final image gets enough time to register.
5. Review before exporting
Check the first two seconds without sound. Is there a clear reason to keep watching? Then check the close view of the product: does the clip attach correctly, and does the light visibly change the reading experience? Finally, watch both edits with sound. Remove any pause that feels accidental, but leave enough time for the demonstration to read.
If the video still feels flat, change one thing at a time. Reframe the product, simplify the action, or alter the cut length. A stronger prompt cannot fix a sequence with no visual change.
FAQ
Does this workflow make animated text or vector motion graphics?
No. It creates AI-generated product footage and assembles the shots into a paced video. Add designed typography in a separate editor if your campaign requires precise, editable text animation.
Can I use the same workflow for a product I already sell?
Yes. Replace the fictional reading light with your product, attach a clear reference image, and keep the video focused on one feature that can be shown visually.
Where can I edit the shot order and timing?
Use the Edit timeline to arrange and trim the generated clips. See Arcloop’s first video workflow.
CTA button: Build a Product Video in Arcloop
CTA link: https://arcloop.ai/